When we purchased our house both Tom and I had a list of things that we wanted to do. He’s an electrician so most of his musts had to do with the lighting of course. I’m a creative so all mine had to do with Tom doing a lot of manual labor. (Sorry Tom!)
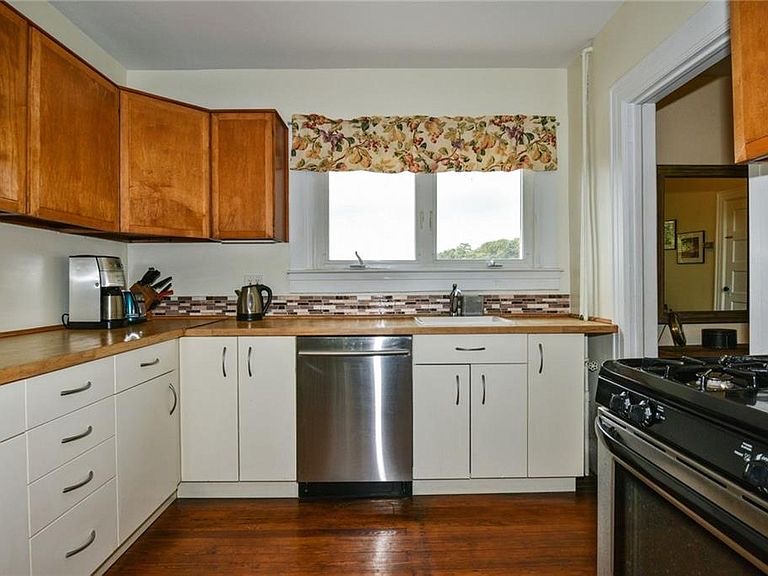
After the bathroom, the next item on my list was the kitchen. The upper cabinets were wood while the bottom cabinets were some kind of Ikea particleboard with either plastic or lacquer over them. I checked on Ikea but since they were here when we got here I can’t be certain on the exact material. So since the cabinet style didn’t match I really wanted the color to match.
It wasn’t enough to paint the upper cabinets, the lower ones, even though they were white, would have to be painted as well so the color was consistent.
So if you want to paint your cabinets, today I’m sharing a step by step guide on exactly how to paint wooden kitchen cabinets! And added bonus is that I’m also going to share what we did so that our lower cabinets matched the uppers as well.
If you’re interested in a quick snippet of what this entire process looked like check it out on my TikTok!
Tips before you start:
*I was able to do this with the help of my boyfriend who is familiar with all the products and tools necessary and knows what safety precautions to take. You may want to consult a professional before tackling this on your own.
This is definitely a two-person project. While you, of course, could do it alone I know I personally would have been miserable.
Try to paint on a nice day so you can open your windows or paint outside. Or find another well-ventilated area so you don’t have to smell the paint.
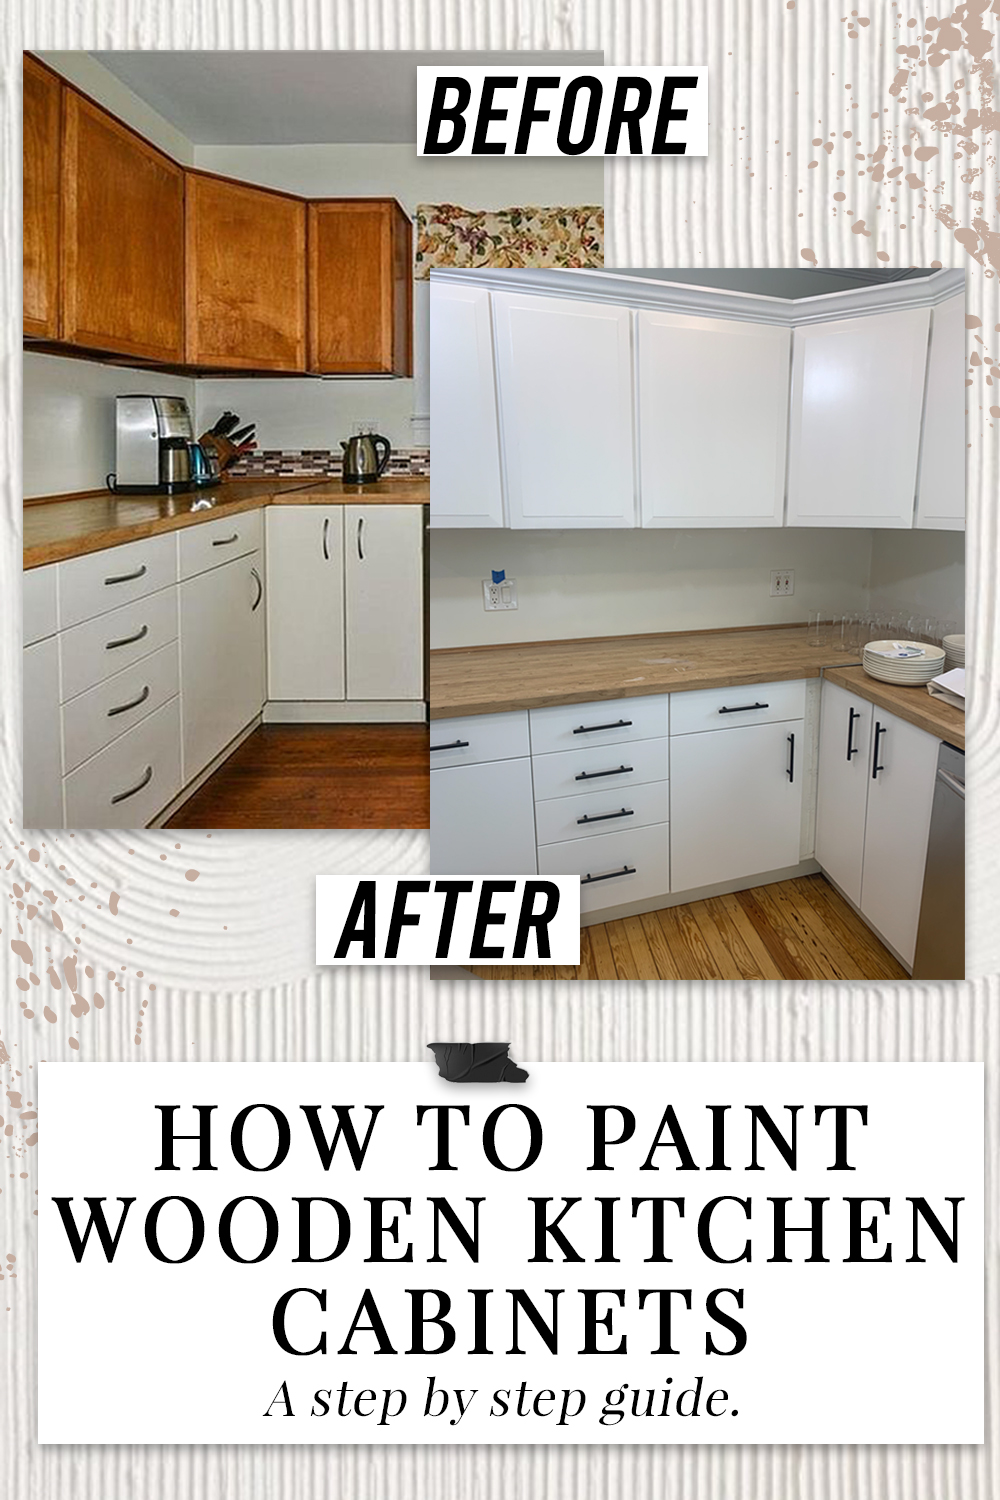
Here’s our before:
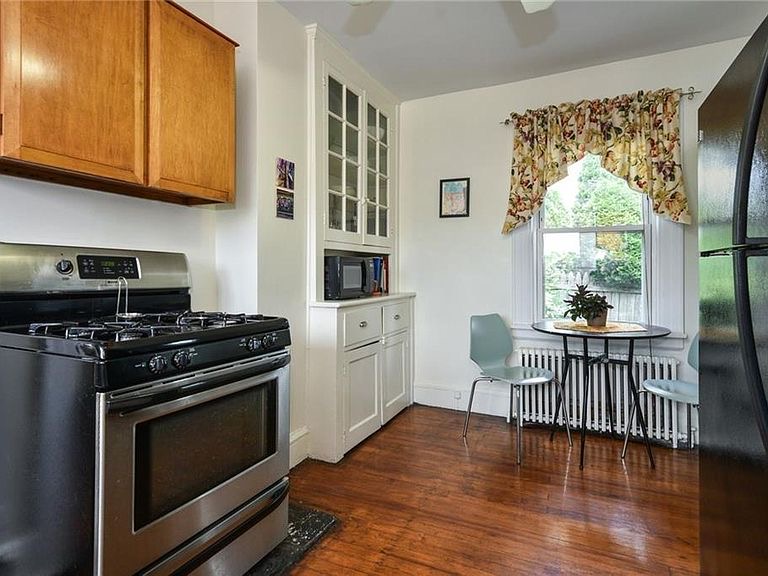
How To Paint Wooden Kitchen Cabinets – Step by Step Guide!
What you’ll need:
- Orbital Sander
- 80-grit sandpaper (to remove the top layer of finish)
- 120-grit sandpaper (after the 80 to smooth)
- Vacuum
- Denatured Alcohol (on a rag to pull fine dust particles out of pours of the wood after sanding)
- Ready Patch (only necessary if you have any old holes in your cabinets)
- Spackle/putty knife (again if you need to patch holes)
- Paint, We used Benjamin Moore Chantilly Lace Advanced Satin Finish
- Floetrol (a latex paint additive)
- Painter’s Pyramid Stands
- Paint Brush
- Small Paint roller
- Paint tray/plastic liners
Step 1:
First, you’re going to want to remove all your hardware from the doors. Then, go ahead and remove all the doors along with the hinges. And of course, remove everything from the inside of your cabinets and drawers.
Tip: You may want to use some kind of baggies or cups and note where each hinge and screw came from so it’s easier when you have to put the doors and hardware back on.
We also added molding to the top of our cabinets. The above picture is right after the doors were removed from the upper cabinets.
Step 2:
Take your orbital sander with your 80-grit sandpaper and sand down your cabinets still on the wall along with the front and back of your doors.
**Tom only sanded the doors of our bottom cabinets to flatten any cracking areas since you cannot see the cabinet itself when the doors are closed. Because of this, he was able to sand the doors without having to remove them.
Vacuum up your dust.
Fill in any old holes or dents with your ready patch and spackle brush.
Next, take your orbital sander with 120-grit sandpaper to smooth everything over.
Vacuum again.
Step 3:
Add denatured alcohol to an old rag and wipe down your cabinets. **Denatured alcohol is flammable so take all necessary safety precautions.
Make sure there is no leftover dust. You want your cabinets to be as smooth and clean as possible prior to painting.
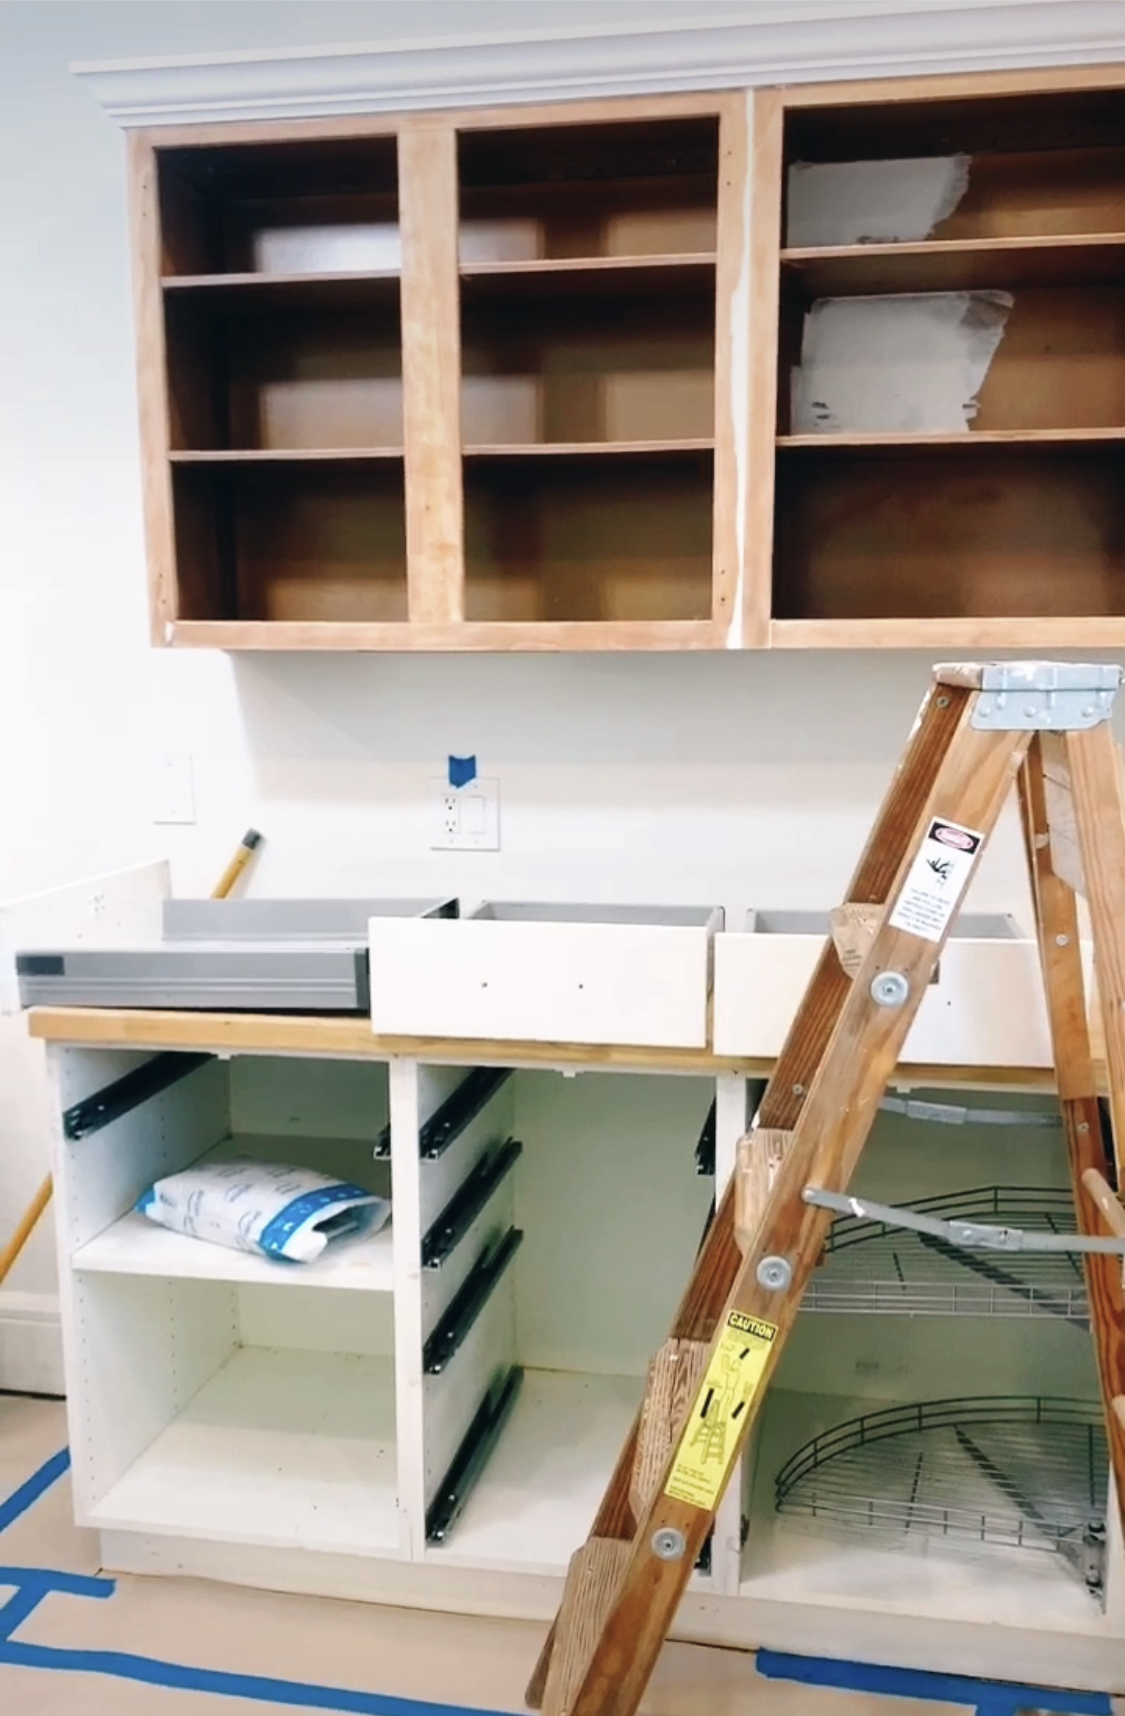
Above: After all sanding and cabinets wiped down.
Step 4:
It’s time to paint! Tom did the doors while I painted the inside of our cabinets. The key here is to do light thin layers of paint until you cover all the wood. It took us four thin coats and touchups.
We used Satin finish Benjamin More advanced paint in Chantilly Lace.
For the inside:
Add some paint into your plastic paint tray liner, get your small roller, and start from the top shelf down. Paint the outside facing pieces last so you don’t end up with paint all over your arms.
I was able to do all four full coats back to back because the layers were thin enough by the time I finished one full coat where I started had already dried. This took me about six hours in total.
The following day I did my touch-ups on the inside and four coats all my outside-facing pieces.
For the doors:
Put your doors on your pyramid stands front down (paint the back first).
Mixing the Flouterol in your paint: We followed the mixing instructions on the bottle. After doing a test piece on the back we ended up using half the amount of Flouterol than it called for because it made the paint way too thin. It would have easily required six coats or more of paint and since our paint was already self-leveling it just wasn’t worth the added work.
Once your paint is mixed with your Flouterol (we mixed right in the tray), using a paintbrush, use full strokes from top to bottom to paint your doors. You are going to see the paint strokes at first, but as the paint dries coat after coat you will see them less and less.
Starting with the backs of your doors allows for practice on the side that you won’t see every day.
We waited a full 24 hours before flipping the doors to do the front side. Follow the same process to paint the front.
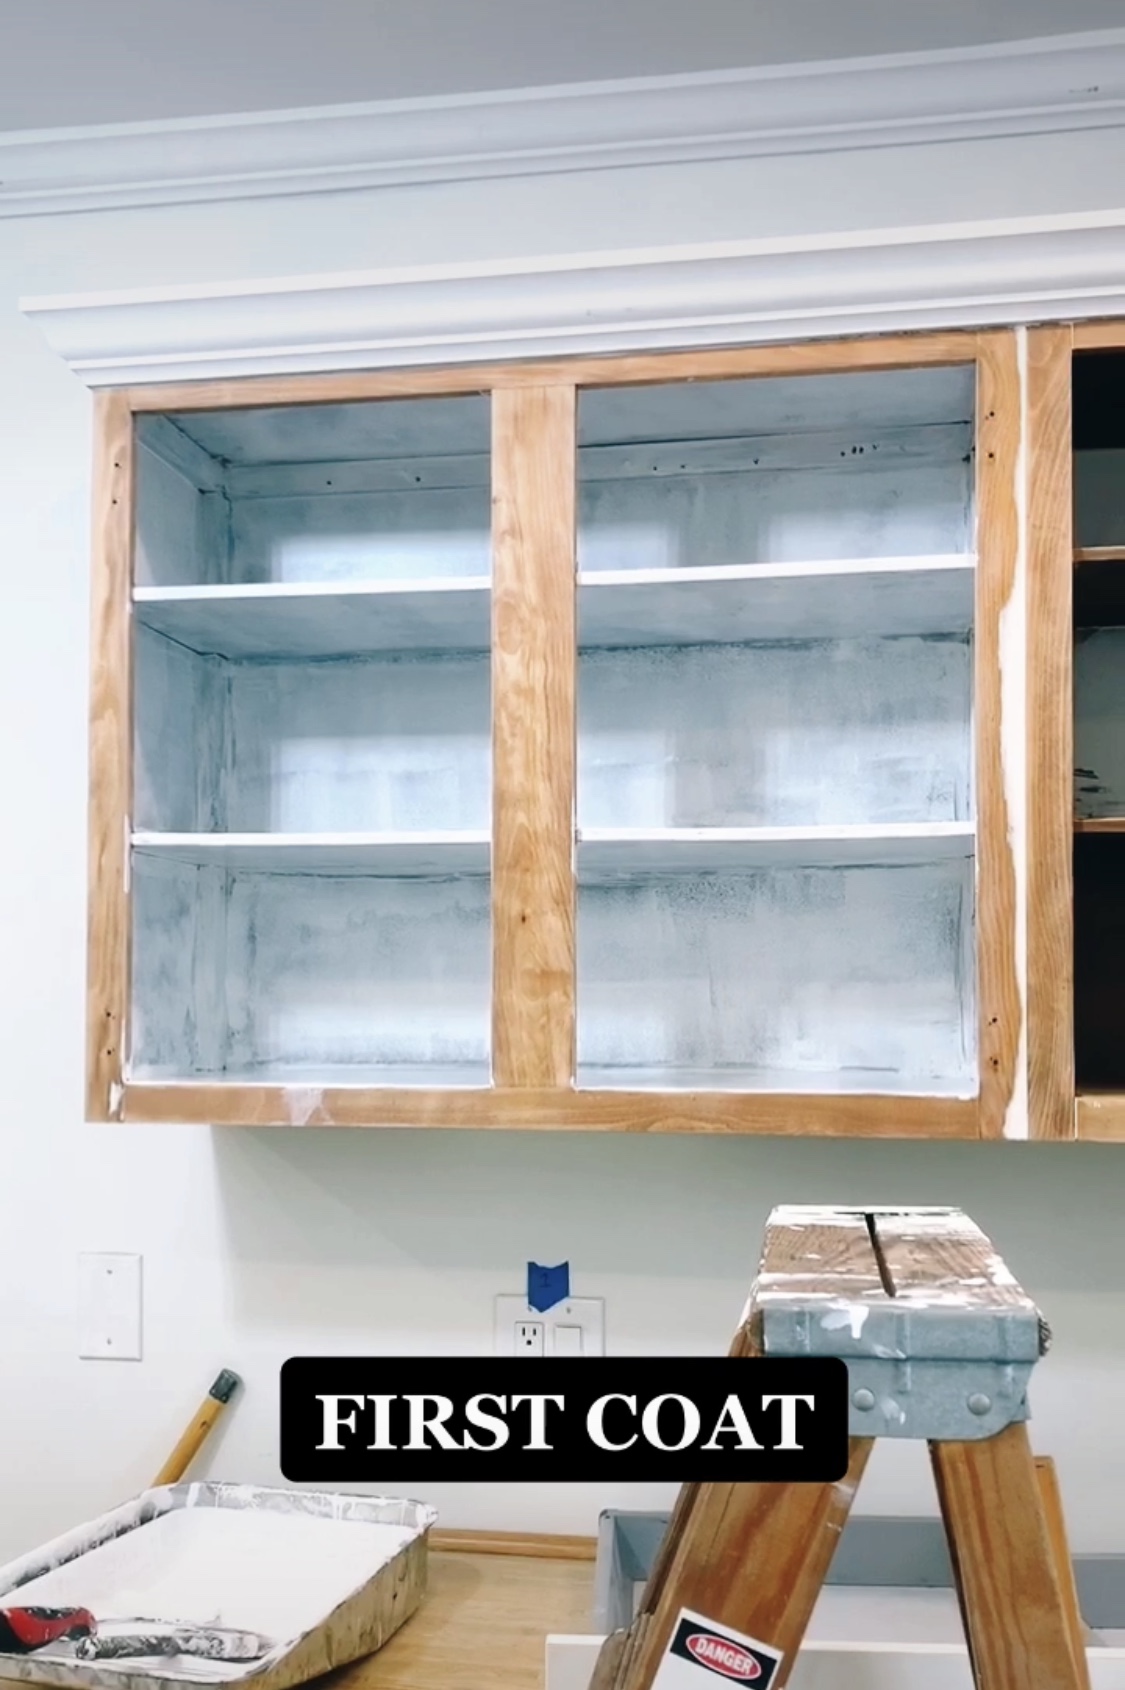
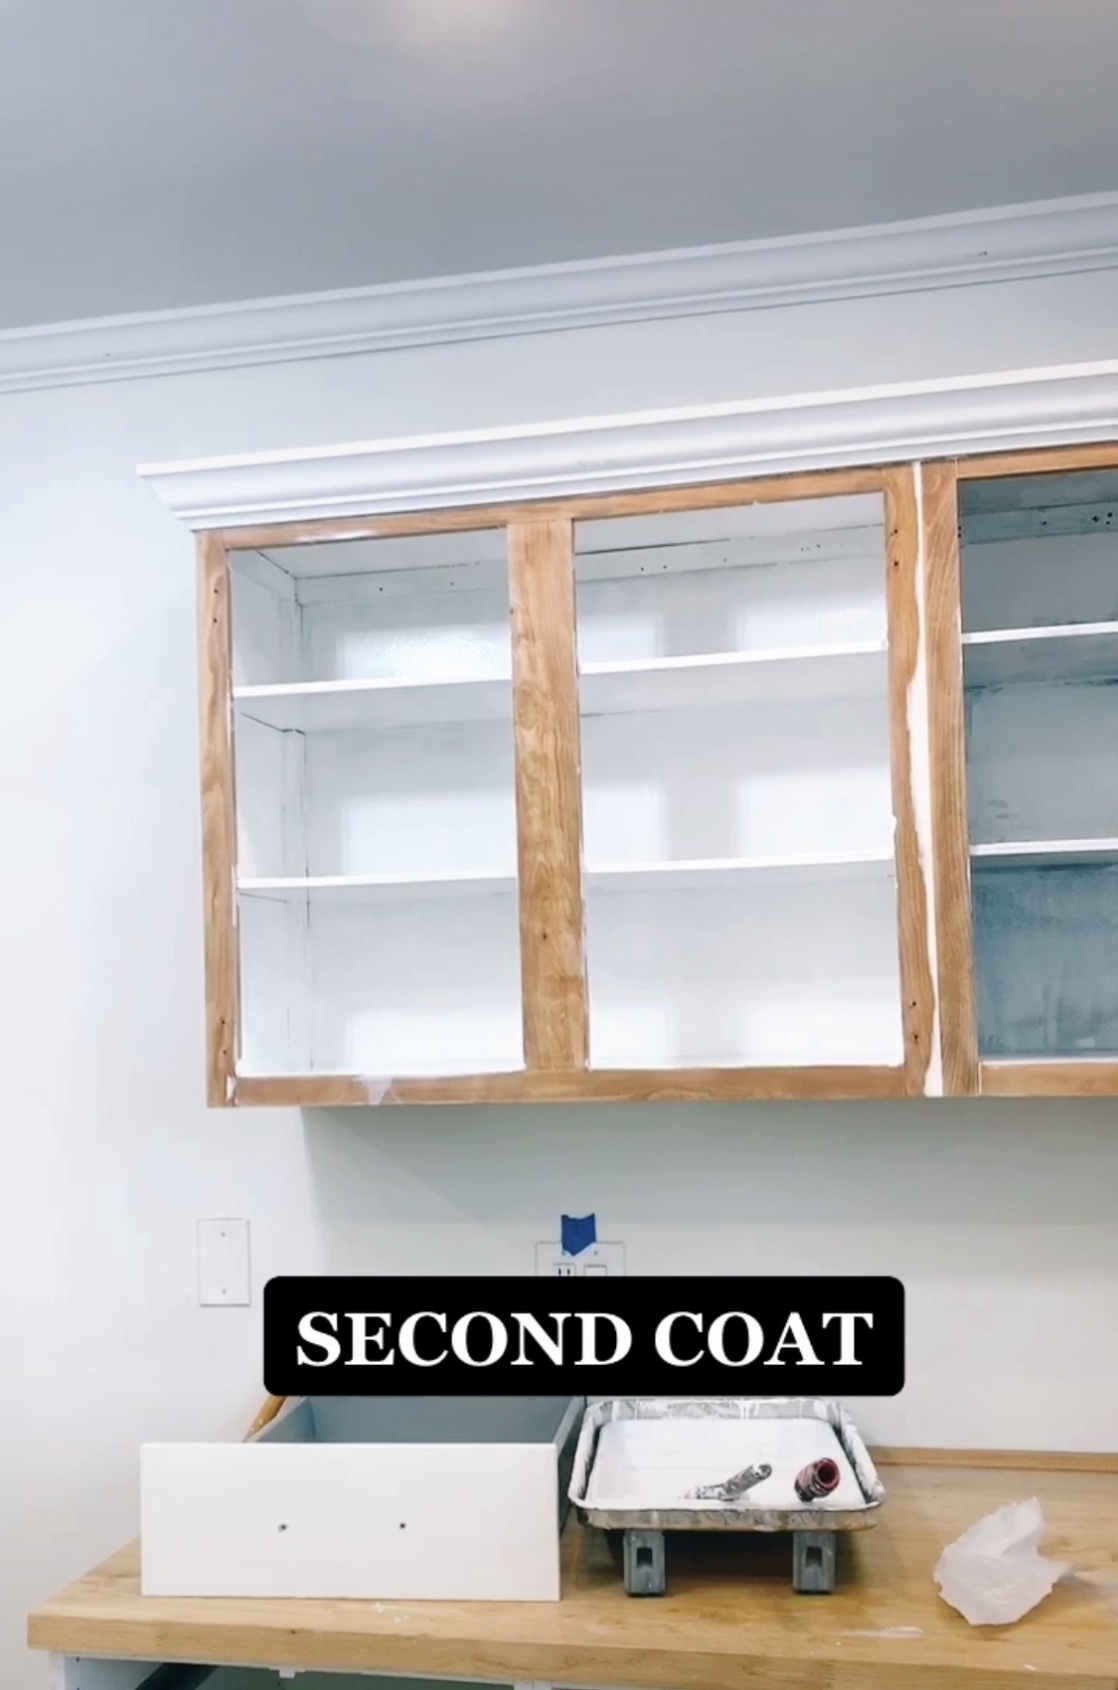
Inside cabinets.
Step 5:
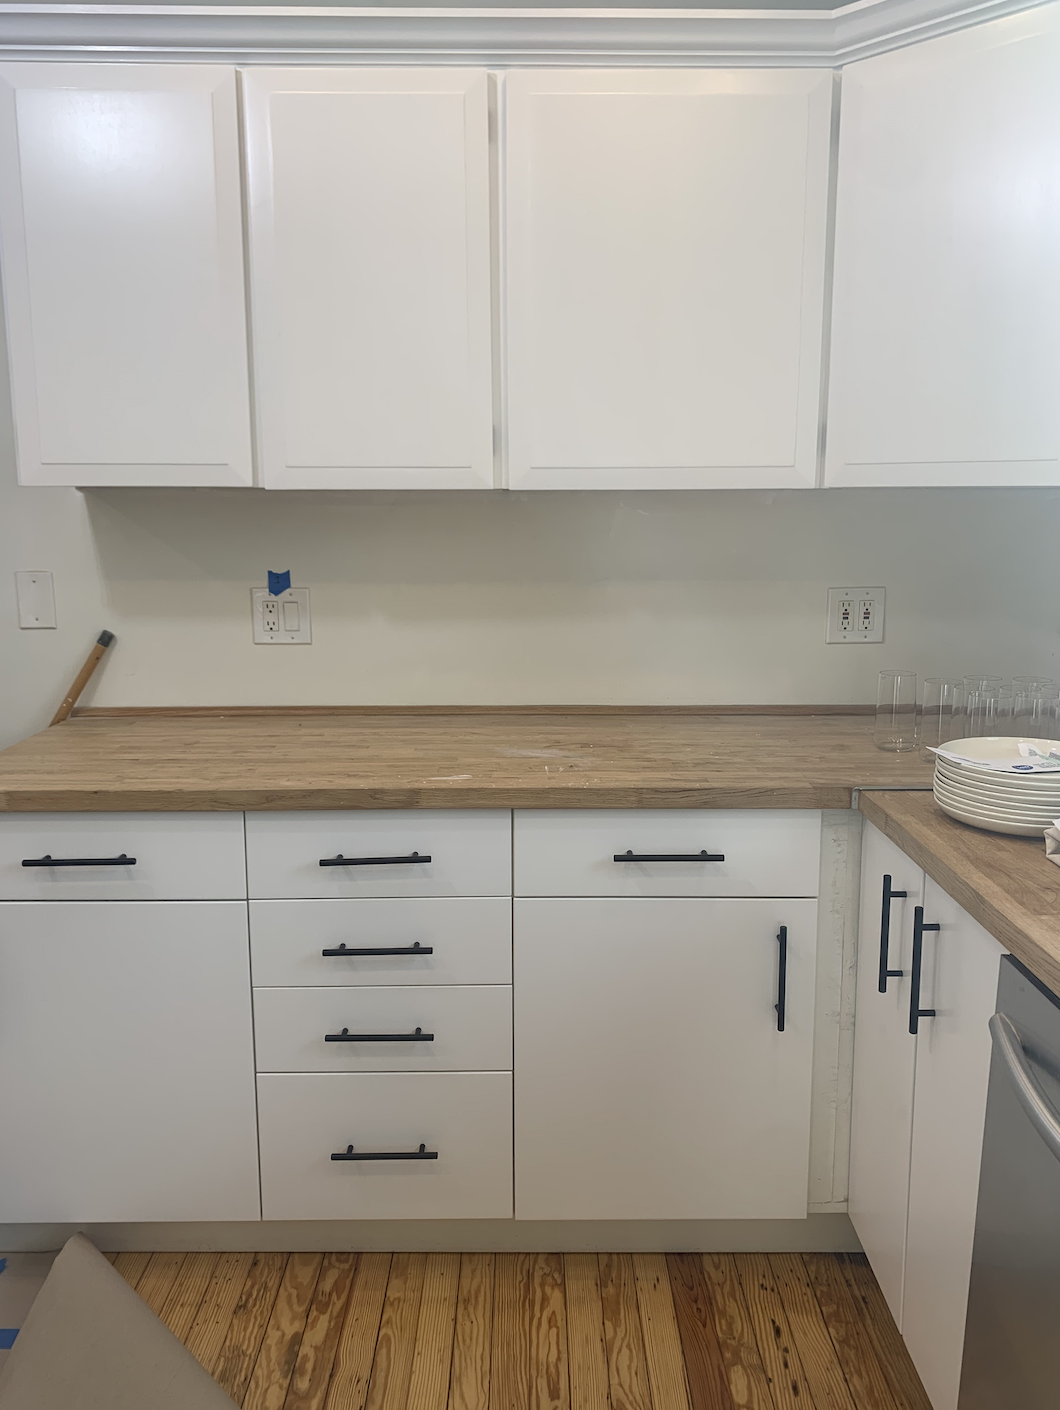
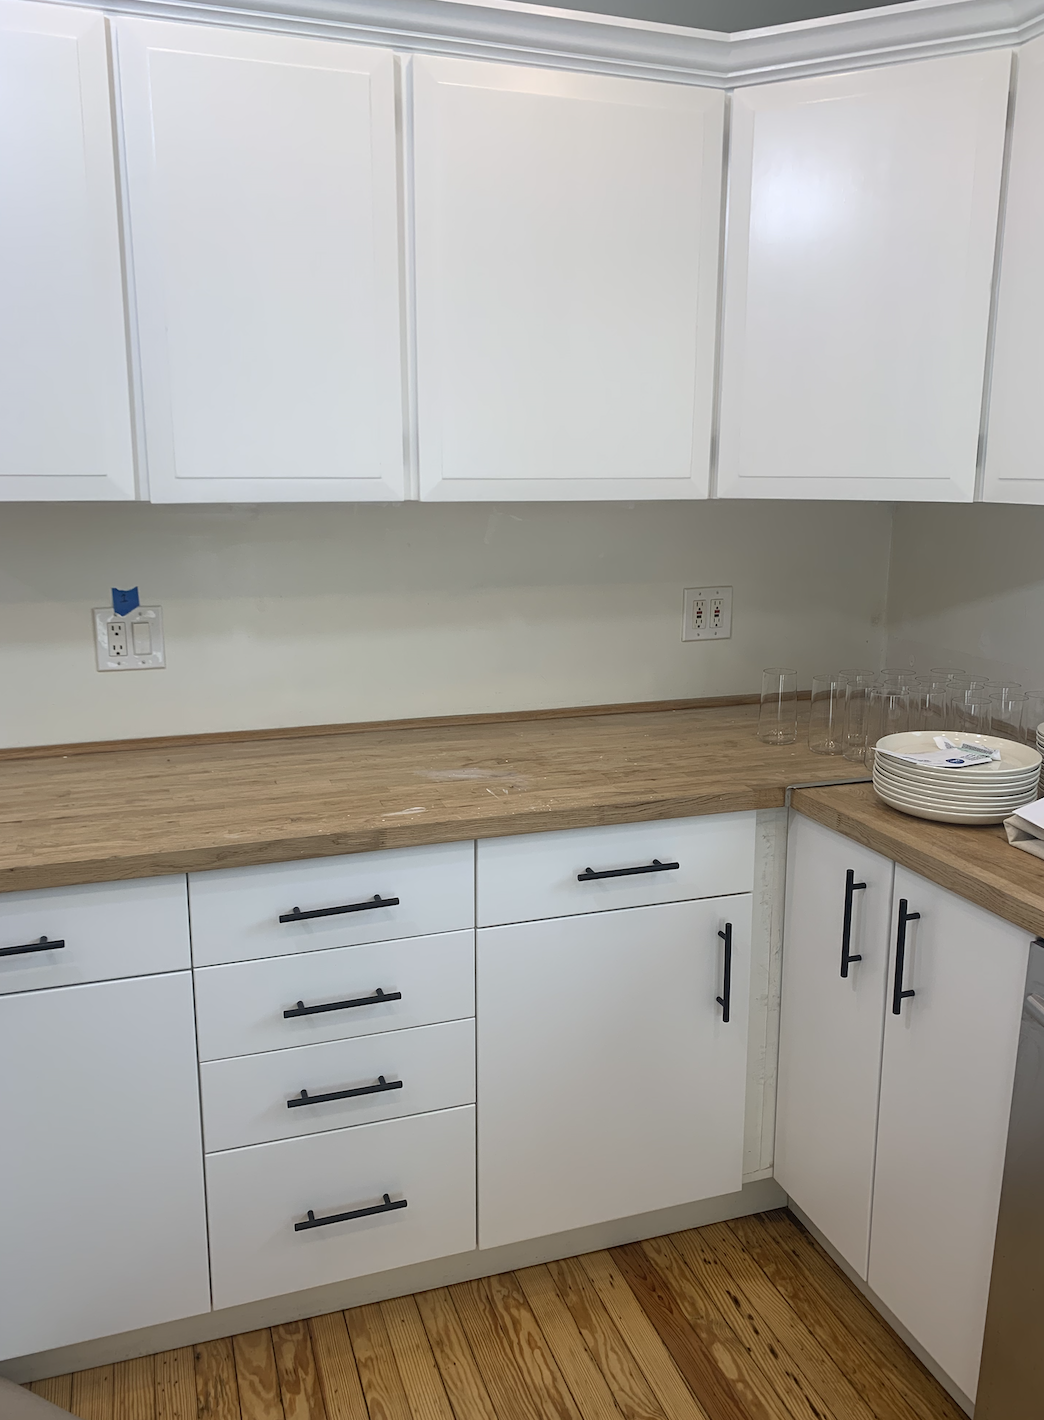
Once everything is good and dry put your doors back on your cabinets! Finally, add your hardware. I chose new black bronze handles.
This was definitely a labor of love but I’m happy we did it. The finished product made it so worth it! Next up were having bottom cabinets but for the opposite side of our kitchen so stay tuned for the full reveal!
The final product:
